

Welcome
Check out our help page to help you easily use our new Internet Branch..
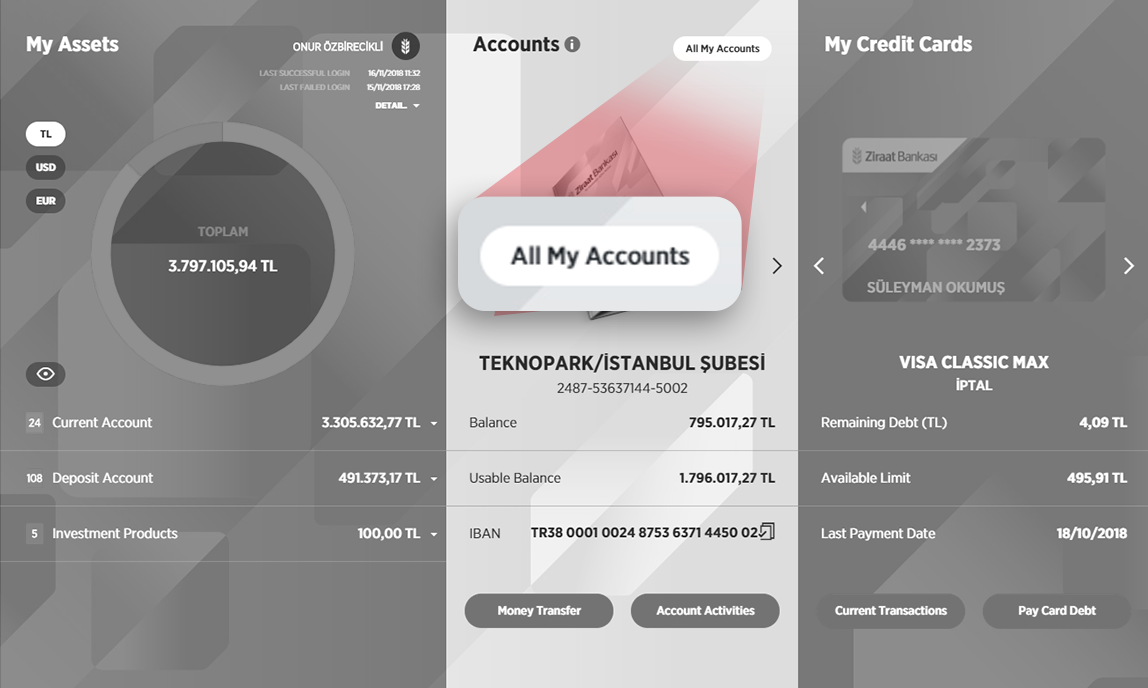
You can access your information with a single click through the summary information panels (widgets) on the home screen, and you can swipe the screen to the right to see more than the first three widgets. You can edit the widgets you want to appear on the home page via "Home Page Editing" in the Profile and Settings menu.


Frequently Asked Questions
- I can't see all the information panels on the Home Page. What can I do to see them all?
- Can I personalize the Home Page? Where can I change the knowledge panels?
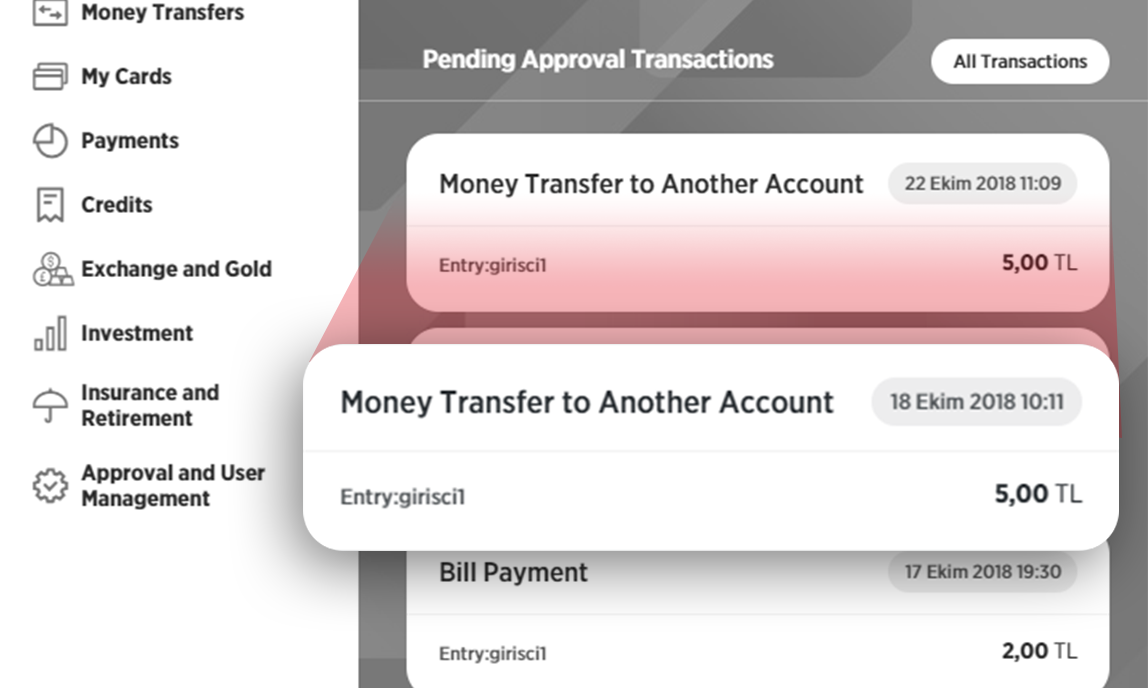
- I can't find the transaction I'm looking for. What should I do?
The information panels continue to the right. You can see other information panels by moving your computer mouse wheel up and down, using the right and left arrows on your keyboard, grabbing and dragging with the mouse, and clicking the area at the end of the information panel.
The information panels are placed in the default order, and you can change the order or the information panels you want to see. To do this, you need to select the Home Page Editing process under the Profile and Settings menu on the left menu. Here you can manage the information panels you want to add or remove, and change their order.
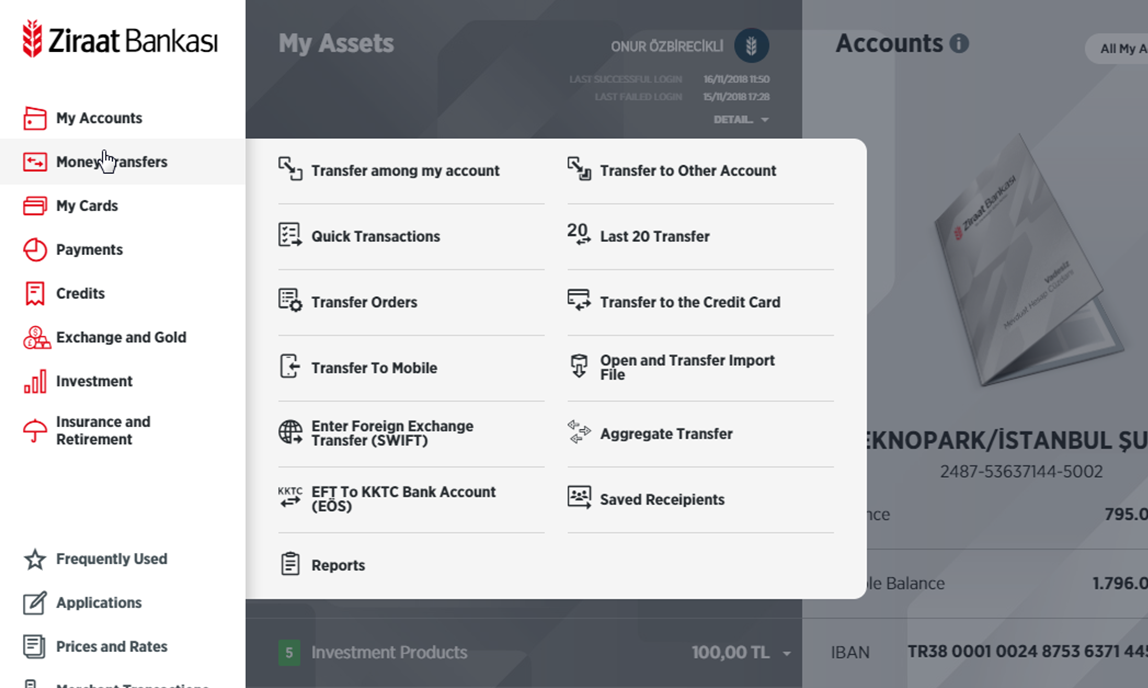
When you click on the Search icon at the bottom of the left menu and type the name of the operation you want to perform in the search bar that opens, all related operations will be listed. You can go to the relevant screen by selecting the operation you want to perform among the listed operations.